Review: Move Shoot Move - First Glance

Review: Move Shoot Move - At a first glance
I had reached the limitations of the gear I own for astrophotography, but wanted to achieve better results. I wanted to improve my craft in three areas; bigger Milky Way images, lower noise and ability to shoot deep-sky objects.
Bigger Milky Way
I currently have 20mm prime lens. It's great for capturing the night sky and it's a fast lens at ƒ1.8. The field of view on a 20mm is quite wide so the Milky Way is "small". Shooting at a longer focal length or cropping are ways achieve an impactful Milky Way. Throwing away pixels is not ideal, especially in an already noisy high-ISO image. Shooting at a longer focal length would need a new lens (for me), ideally a prime in the 35mm range, but still very limiting and for an ƒ1.8 around $700 on the low end. I'm sure looking in the used market I could do better on pricing. I have a 24-120mm ƒ4 lens that could play a role, let's move on.
Lower noise
Astrophotography tends to be shot at a high-ISO and introduces a lot of noise into an image. You need a lot of light when you are shooting in the dark and it takes a long exposure and a high-ISO to capture those details in the Milky Way. Ideally you would lower the ISO and leave your shutter open longer. The issue is you get star trails from the Earth's rotation. This is great if that's what you are trying to achieve as they can make some really nice images. A general rule to calculate your shutter speed before you start getting star trails is 500 divided by your focal length, let's use my 20mm. That's gives, 25 seconds. This is called the rule of 500, but I have found that you tend to need to be even lower, 20 seconds for example. Unfortunately though with a low ISO you have a black image. A star tracker rotates with the Earth keeping the stars in place. This allows for much longer exposures as you aren't limited by the shutter time (as much).
Deep-Sky Objects
I would love to dive deeper into astrophotography shoot deep-sky objects, such as galaxies and nebulas. M31 or the Andromeda Galaxy is typically a first to check off. I tried it with my current gear using my Tamron 150-600mm. I was around 350mm so going back to the rule of 500 that doesn't allow for a very long exposure. I was still able to capture just over 500, 1-second exposures and with post-processing I stacked all of these images and created an image with a better signal-to-noise ratio and processed that image to produce this. Pretty amazing considering each frame was pretty much solid black. I want a much sharper image as well as the ability to go for other targets. A tracker mount would allow for this.
Research Phase - Star Trackers
I compared the star trackers on the market that weren't crazy expensive. I concluded that I would only have a few systems, iOptron Skyguilder Pro, Sky-Watcher Star Adventurer Pro 2I or the Sky-Watcher Star Adventurer Pro Gti to really push the deep sky objects. The reason being the weight of my camera and lens set up would be too for the smaller trackers. My set up weighing in at just over 2.7 kg (6 lbs) is too much for the motors and damage may it, or you would still end up with trails as the motor struggled. It also recommended that your weight be about 60% of the max payload of the system. The ones mentioned above all are rated for 5 kg (11 lbs) which would work, but not cheap, ranging from CDN$650-850 before taxes. Once I came to the conclusion that I was going to leaving deep-sky objects off the list for now the Move Shoot Move was looking like a great option. It's cheap, the reviews were good and it was small. I pulled the trigger and went with a Basic Kit with a laser pointer. I also opted for a wedge (to allow for fine tuning on the alignment) and lens warmer. It was about CND$420 all in and still cheaper then a single lens. The MSM would allow my to mount my 24-120 with no issues on the weight as it well the 60% of it's max 3 kg (6.6 lbs)) payload. This would allow for greater flexibility vs a prime lens. At ƒ4 I would need longer exposure time than a fast prime I anticipated was worth the trade off.

Unboxing
My package arrived the day after my camera fell into a river! You can read about that mishap here. I was lucky and eventually my camera was back in working order. I wasn't thrilled right off the start. I opened my laser pointer and noticed a small loose piece of plastic. Turns out it was from the button to turn the laser on. I don't even know how it broke the way it did. I put the battery in and well it's certainly a powerful laser, but it was permanently on. The button turns it off, which is very hard to access since it's broken off. I sent an email off to customer service and at the time of writing never heard back (many months, I'm not holding my breath). The charger for this battery is, how should I say this "unique" seems like it could have been easier and sturdier, but handling it with care its still in one piece. The wedge seems solid. I have yet to use it because don't want to replace my ball head on my main (only) tripod as I still use it predominately for landscape work and would need another quick release plate to use it in any other fashion.

Zeroing the laser in was a bit of a task, but worth doing to have a more accurate polar alignment. There are small adjustments screws and you tweak it so when you turn the laser in the holder it stays in a fixed spot instead of creating a circle or oval. This allows you to more accurately hit Polaris and will allow for better tracking which means longer exposures, which is what we want in the first place.
This is the current way I have me set up. I use a remote control intervalometer to control and trigger the shutter.
First Night in the Field
I had an issue right off the start, my laser pointer wasn't working. Since it would be always be on, I flipped the battery so it wouldn't drain, well I guess it still did. What did I do? I used the clip where the barrel of the laser would be inserted and try with just by eyeballing Polaris into the center of it. I took some normal photos and did some exposure calculations and turned the rotor on. The first thing I noticed was that I appeared to have a good alignment as I was getting no star trails. I continued to push my times going to 1m30s I still had pin point stars and was now shooting the Milky Way at ISO 400 with my 20mm ƒ1.8. Even on the back of the camera I could see how clean the image was compared to shooting around 2000-2500, where I needed to be before.
Instead of pushing the time further I changed my lens and put my 24-120 ƒ4 on. You wouldn't normally use this lens for astrophotography. This would be the true test as this lens would allow for ultimate flexibly. I started close to 35mm, turns out it was 32, close enough right. I used the same 1m30s but was shooting at ISO 2500 and achieved similar results to my prime without a rotor. This was excellent news and I still had pin point stars. I then cranked it towards 75mm and used the same 1m30s. I still had pin point stars with the galactic core filling the frame. This was my take away image from that night. I'm impressed! It's also my cover image for my 2023 Calendar which you can get here.

Second night in the field
I went for a hike to a lone tree I had shot during a sunset earlier in the year and wanted to shoot the Milky Way over it. My laser pointer worked, I had it in a zip lock bag in pieces and assembled it there. I now had a green light saber that shot into the sky (watch out for airplanes) Alignment was very easy and quick a matter of minutes, even using a ball head. I did my test shot and did my calculations starting at 1m30s. I was shocked when I saw star trails. I had to have a better alignment than my first night. Duh, I need to turn it on... It's amazing how well it works when it's on. Upped my time to 2m30s with a 35mm. I was able to drop below an ISO I used with my 20mm prime while also shooting a longer focal length. Exactly what I as gunning for. Below is an image of the laser pointer, I have my 150-600mm lens on it as I "tried" to shoot Pleiades.


Portrait Lens?
I have a ƒ1.4 85mm portrait lens. I have used it for a close up of the Milky Way before, using noisy 6 second exposures. So pointing this lens up to the skies wasn't new, but I wanted to try for a wider field shot and well Orion has been in the night sky as winter approach. 85mm gets the whole constellation in the frame (on a full frame). I did a test run one night without the fracker and was amazed that I was able to see the Orion and Horse Head Nebula in that single shot (although faint) The next clear night I went out and shot about an 30 minutes of integration. I stacked those images and pretty happy with the first attempt. I would benefit from an Astro modified camera (IR cut filter is removed and allows more of the Hydrogen Alpha, or the red emissions).

Although heavily cropped you can see the potential in the images below.
This mount would allow for some deep sky objects with some lens out there like a 135mm ƒ2 or even a TPO UltraWide 180 f/4.5 Astrophotography Lens & Guide Scope. I am likely going go a different route and utilizing my Tamron 150-600mm. It would be a better use of funds going long term... stay tuned.
Below is a reprocessed image using the same data captured for the images above. I used a different program (Siril - It's free) and photoshop and gave attention to a controlling the purple as well as tackling the colour in the bloat of the stars. I'm a fan of the result. You can even see the Casper The Friendly Ghost Nebula in this version.

Conclusion
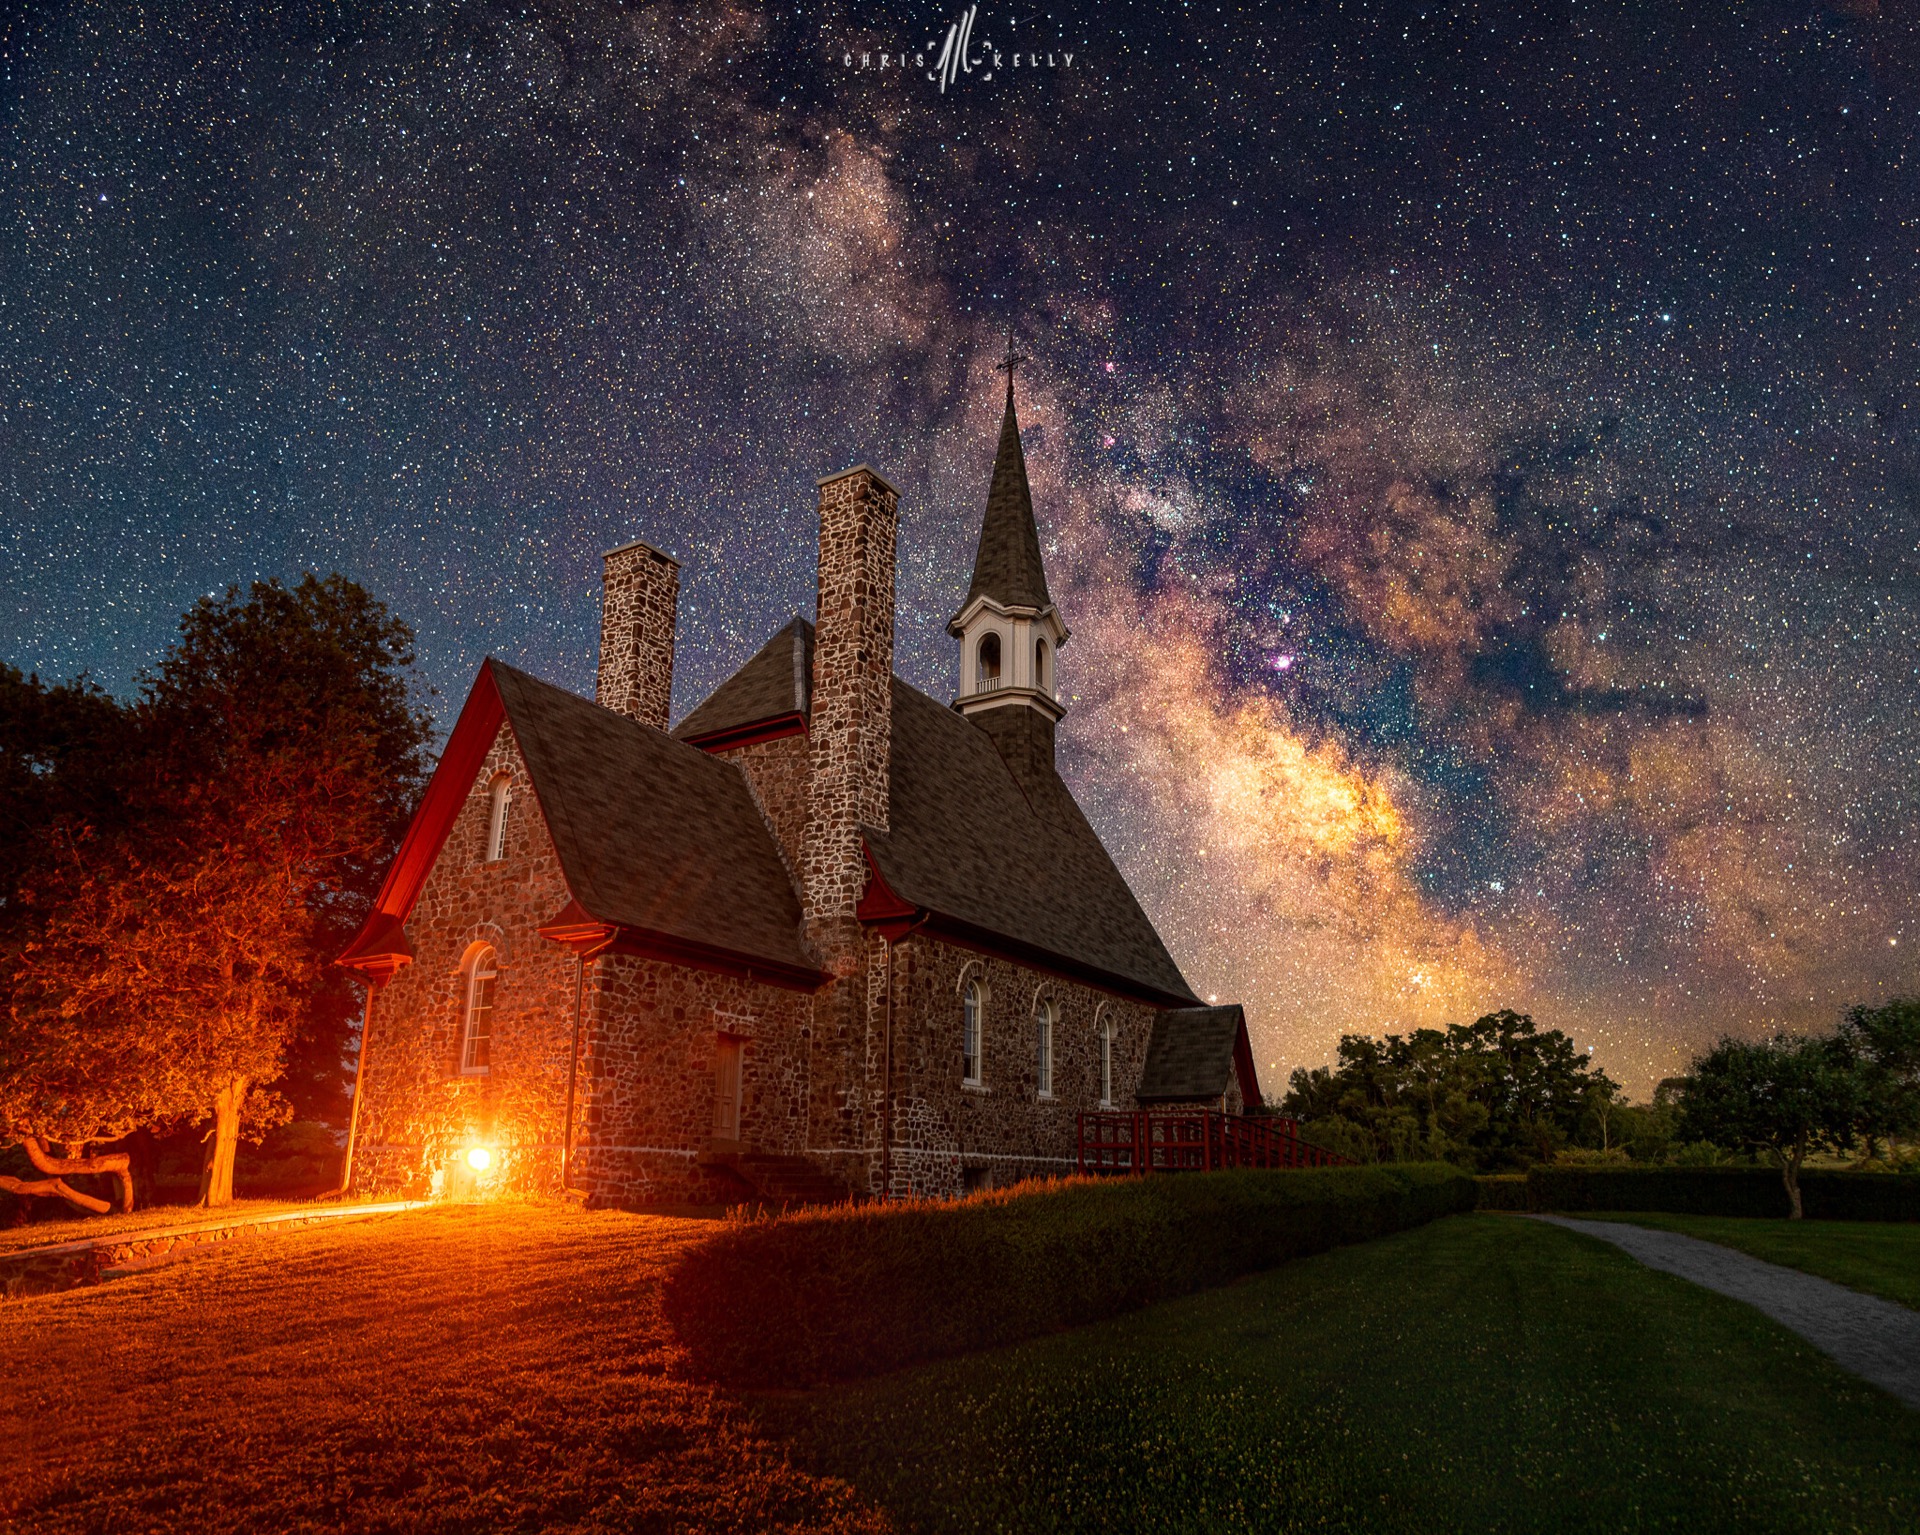
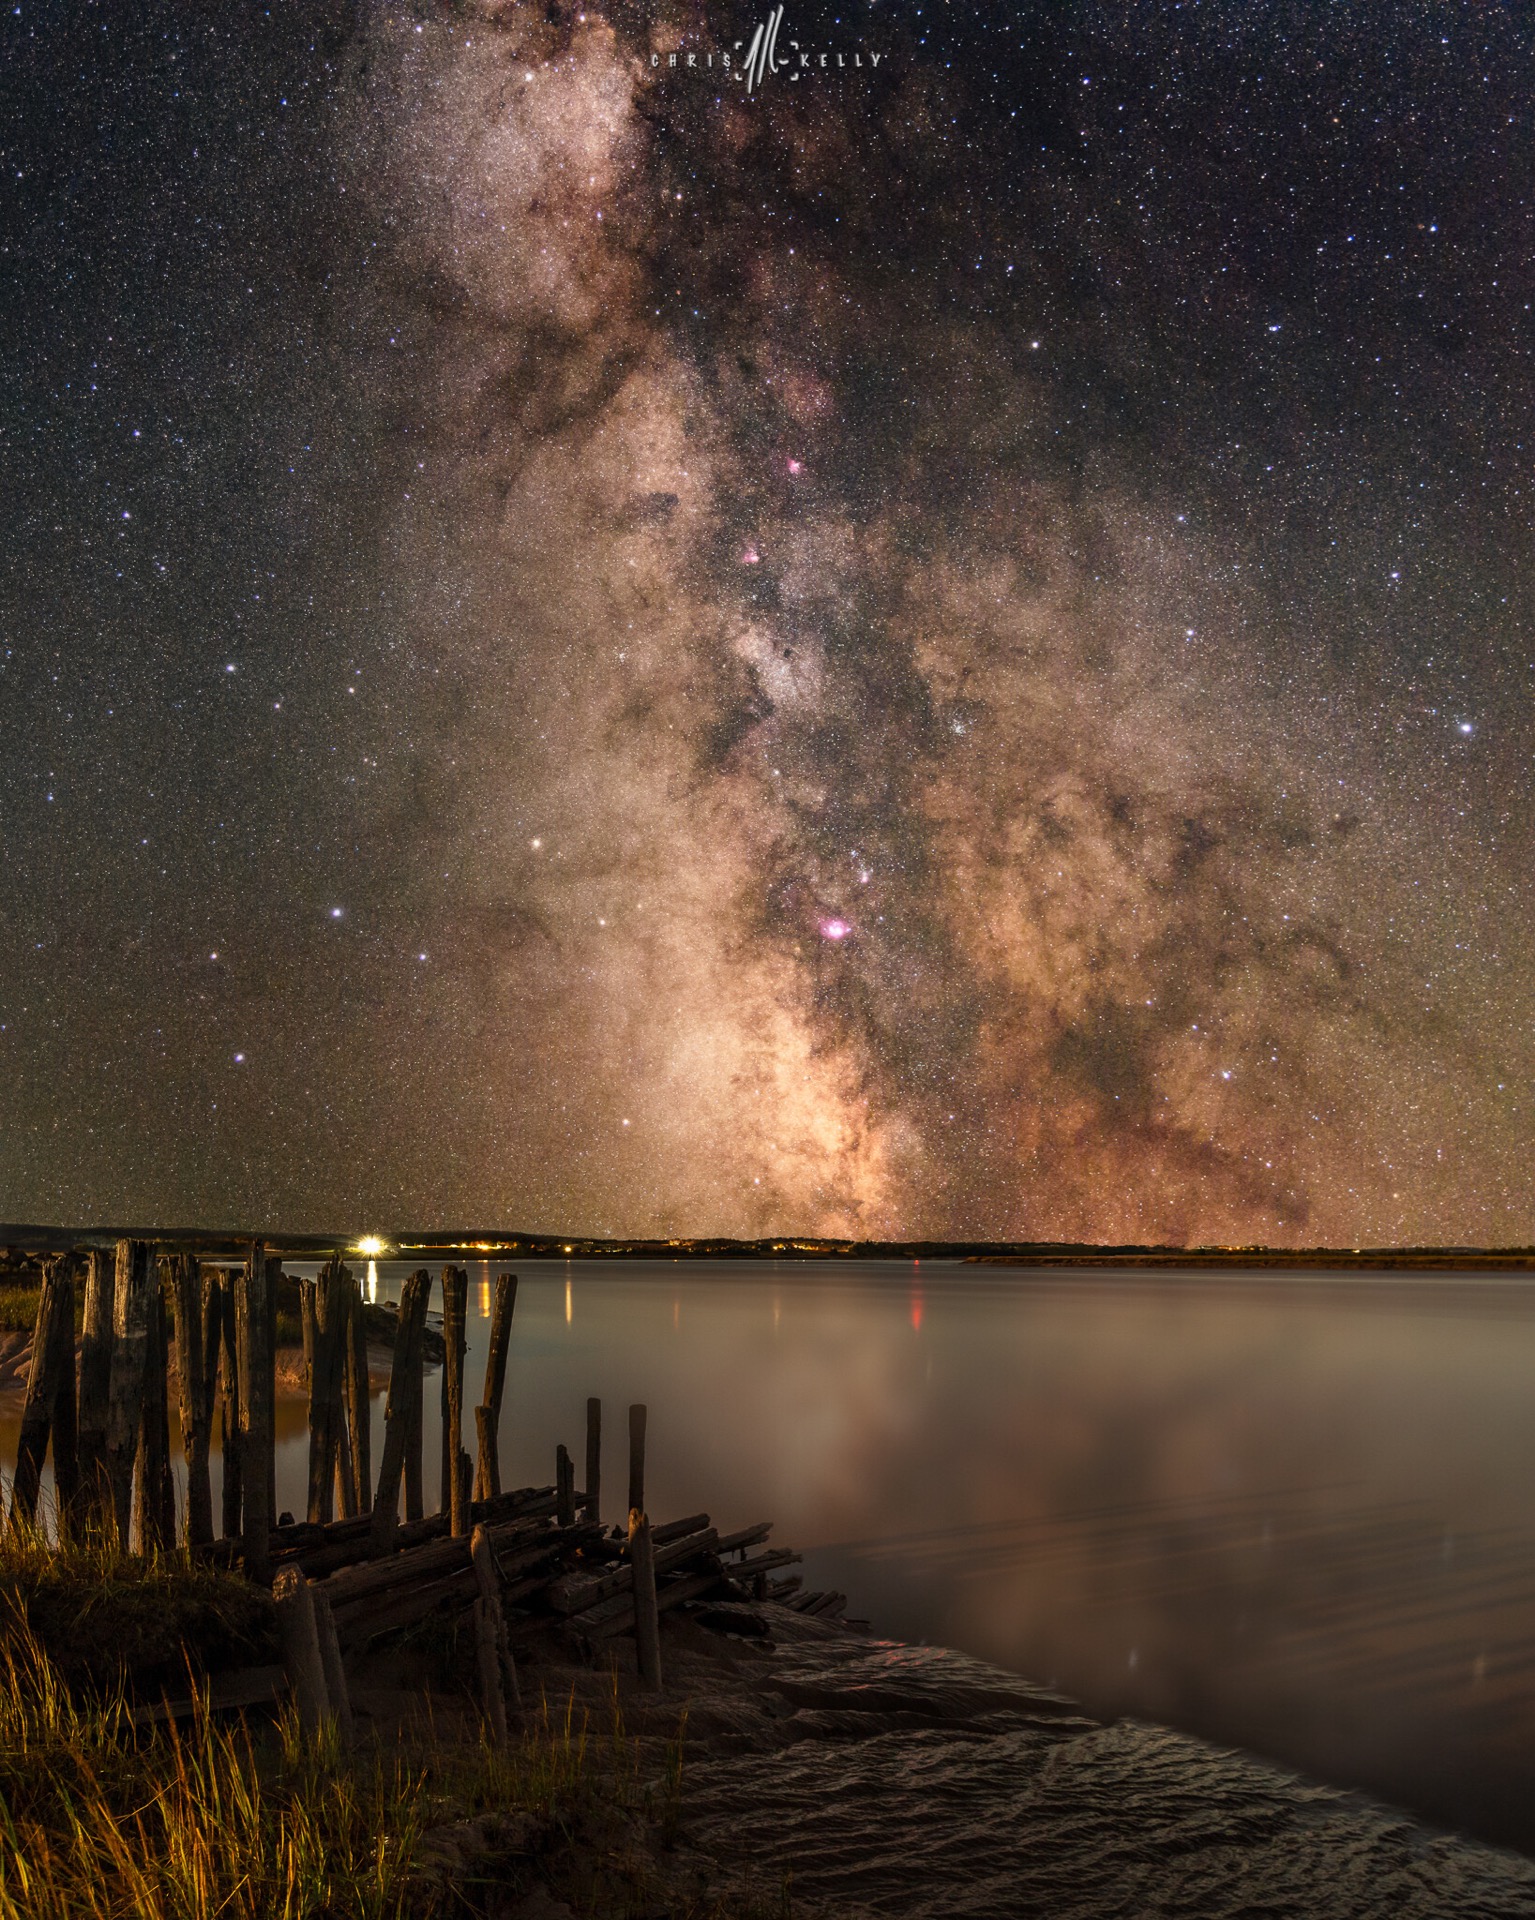
I am very impressed with the results of the images, even with the few minor issues and considering the cost it's hard not to jump on it. I haven't used the wedge and warmer, so just getting the kit put it in the $300 Cnd ball park. The flexibly and cleaner images is very noticeable and using a lens you would never use for astrophotography at that. Some composite images I created with Milky Way images.

Above: Train tracks at St. Croix, Nova Scotia. These tracks face NE and you couldn't have the Milky Way in this orientation at this location.
Below: An old wharf at Windsor. Again facing North and not a view that could be had, but pretty none the less.
